Understanding Water Heater Types
Before diving into the specific steps on how to fit water heater, it’s essential to understand the different types of water heaters available on the market today. Each type has its specific characteristics, advantages, and installation requirements.
Electric vs Gas Water Heaters
The most common types of water heaters are electric and gas. Electric water heaters typically use electric resistance coils to heat the water and are generally easier to install. However, they might lead to higher utility bills, especially if electricity costs are high in your area. On the other hand, gas water heaters are more energy-efficient and can heat water more quickly, making them a popular choice. When selecting which type suits your needs, consider factors like installation costs, energy costs, and availability of gas lines.
Choosing the Right Size
Choosing the right size water heater is crucial for ensuring efficient operation and meeting your household needs. A common rule of thumb is about 10 to 15 gallons per person in your household. A family of four would typically need a 40- to 60-gallon water heater. However, usage patterns, such as the number of simultaneous showers or washing machines in use, might require you to opt for a larger capacity. Moreover, sizing your water heater correctly also contributes to energy efficiency, as an undersized heater will overwork and lead to higher costs.
Energy Efficiency Considerations
Energy efficiency is an important factor to consider when selecting a water heater. Check for the Energy Factor (EF) rating, which indicates the unit’s overall efficiency. The higher the EF rating, the more efficient the unit is. Additionally, modern water heaters often come with special features such as better insulation and advanced heating technologies, which contribute to more significant energy savings.
Preparing for Installation
Before beginning the installation process, proper preparation is key to ensuring a successful water heater fitting. This includes gathering the necessary tools, understanding safety protocols, and assessing the allocated space.
Tools Required for Fitting
Gather the following tools and materials before starting your installation:
- Wrench set
- Pipe cutter
- Plumber’s tape
- Screwdrivers
- PVC piping (if applicable)
- Safety goggles and gloves
Having these tools ready will make the installation process smoother and more efficient.
Safety Precautions to Follow
Safety should always be your top priority. Start by turning off the power or gas supply to the old water heater and turning off the water supply. Make sure to drain any excess water to prevent spills during the disconnection process. Wearing safety goggles and gloves while handling tools and materials is crucial to avoid injury.
Assessing Your Space
Assessing the designated installation space is necessary to ensure that the new water heater fits comfortably. Measure the area where the heater will go, ensuring there’s adequate ventilation if you choose a gas model. Check local codes for installation clearance requirements to avoid any code violations during the process.
How to Fit a Water Heater: Installation Steps
Once you’ve completed the preparation, you are ready to start the installation process. Following these steps carefully will yield the best results.
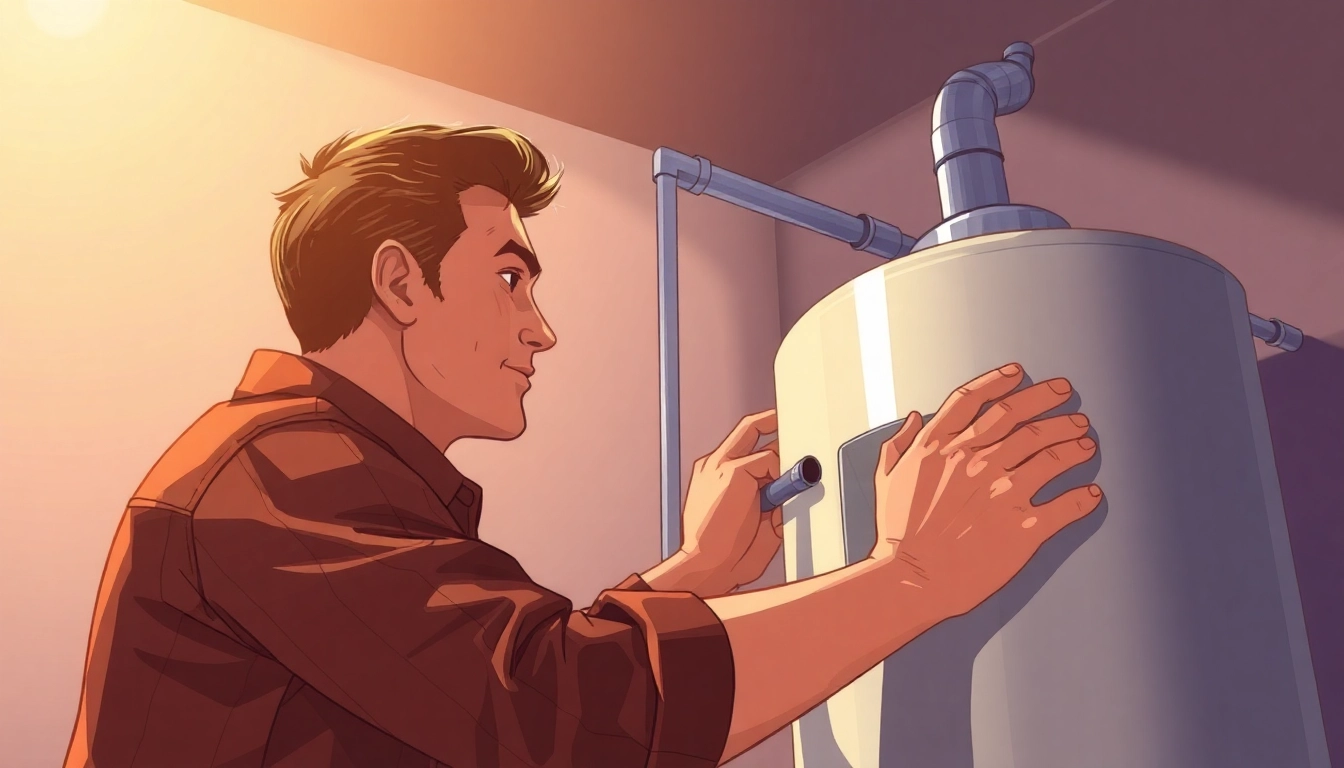
Setting the Heater in Place
Begin by placing the new water heater in the appropriate space. Make sure it’s positioned upright and stable. For gas heaters, check that the venting connections are correctly aligned. If you have a heavy tank, it’s advisable to have someone help you lift it into place to prevent injury and damage.
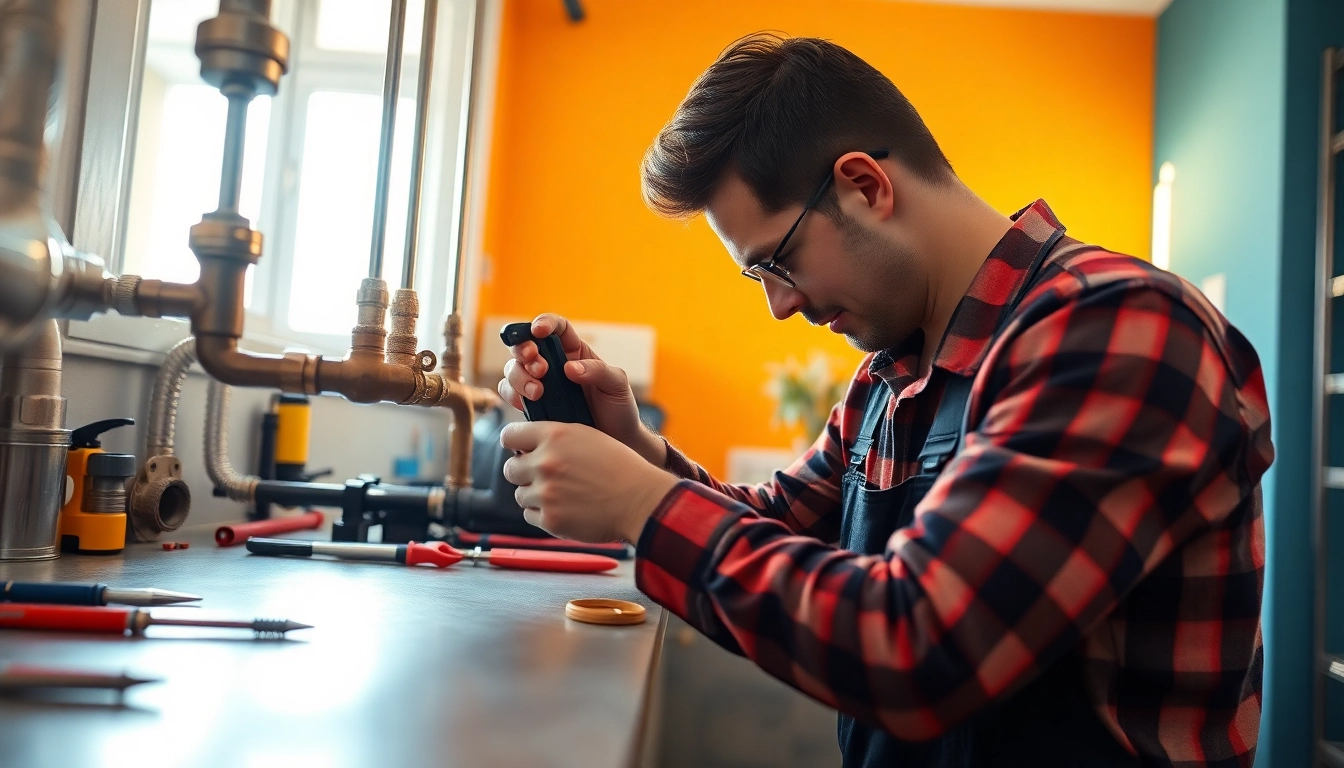
Connecting Inlets and Outlets
When connecting the inlets and outlets, ensure that you’ve shut off all necessary supplies. For electric heaters, attach the cold and hot water piping according to the manufacturer’s instructions, usually indicated with color-coded fittings. For gas models, connect the gas line to the inlet and follow safety protocols, ensuring all fittings are secured without leaks.
Installing the T&P Valve
The Temperature and Pressure (T&P) relief valve is a crucial safety feature of any water heater. Install it on the top or side of the tank, depending on the model. This valve is designed to release excess pressure and prevent tank failure.
Installing the Discharge Pipe
The discharge pipe connects to the T&P valve, directing any released hot water to a safe location outside or into a drain. It should be properly secured to prevent leaks and should face downward, ensuring hot water is not discharged into potentially unsafe areas.
Hooking Up the Water
Next, connect the cold-water supply line using the appropriate fittings. Double-check each joint to eliminate leaks, using plumber’s tape to seal threads as necessary. Once connected, turn on the water supply and fill the tank, monitoring for any leaks at the connections.
Install the Fittings
Ensure that all required fittings are correctly installed, including the tank’s electrical connections for electric models. Follow the electrical codes for your area when completing electrical hook-ups and securing connections.
Securing the Fitting
Tighten fittings carefully to avoid overtightening, which can damage threads or the fittings themselves. Always follow the manufacturer’s specifications when securing these connections.
Secure the Compression Nut
If your installation uses a compression nut, make sure that it is tightened securely. This connection is crucial for maintaining the integrity of the water system and preventing leaks.
Install Seismic Straps
If required by local codes or if you are in an earthquake-prone area, install seismic straps to secure the water heater to the wall. This provides additional safety and stability.
Final Checks and Testing
After completing the installation, make sure to conduct final checks. Turn on the water supply and check for leaks around all fittings and connections. Once you’ve ensured there are no leaks, power up the unit (or light the pilot light for gas heaters) and allow it to heat. Monitor the performance to ensure the heater operates efficiently.
Common Issues and How to Resolve Them
Even after a proper installation, issues can arise with your water heater. Being aware of these common problems and their solutions can help you maintain an efficient and effective appliance.
Water Heater Leaks
Leaks are among the most common issues with water heaters. They can occur from the fittings, around the T&P valve, or even from the tank itself. If you experience leaks, start by checking the connections at the fittings before inspecting the tank for corrosion or damage. Tightening fittings or replacing worn parts usually resolves minor leaks. If the tank is leaking, it might require replacement.
Improper Temperature Settings
If water temperature is either too low or too high, check the thermostat settings. For most households, the ideal temperature is around 120°F (49°C). Adjust accordingly and give the heater time to reflect the change. If problems persist, there might be an issue with the heating element or the thermostat itself.
Noise and Performance Problems
Unusual noises from your water heater can indicate sediment build-up, air bubbles, or a malfunctioning heating element. Regular maintenance, including flushing the tank at least once a year, can significantly reduce noise levels and prolong the life of your water heater. If noise continues, it may be best to contact a professional for a thorough inspection.
When to Call a Professional
While many homeowners can fit a water heater themselves, some situations require professional assistance. Knowing when to call a pro is essential for safety and compliance.
Identifying Complex Installations
If your installation involves complex tasks, such as rerouting pipes or extensive electrical work, consider hiring a professional. Plumbing systems can be intricate, and mistakes could lead to costly repairs down the line.
Signs of Faulty Equipment
Signs such as frequent fluctuations in water temperature, sounds of water pooling, or consistent leaks suggest that your water heater may be failing. If you notice these issues, seeking professional advice ensures proper handling and prevents further damage.
Cost of Hiring a Plumber
The cost of hiring a professional plumber can vary widely based on location and the complexity of the job, but on average, expect to pay between $920 and $1,177 for installation. While DIY can save money, attempting complex installations without experience could lead to higher costs in repairs or local code violations.


Leave a Reply